
I made barbecue ribs for the first time and they didn't suck
An impromptu cooking tutorial for making oven-baked ribs at home

I live in Manhattan, which means I do not own a smoker. As much as I’d like to have one, my landlords have told me at least twice that a) there’s no room for one in my apartment and b) it’s likely a bad idea. I refuse to believe it’s a bad idea, but there really isn’t enough room for it, anyway.
So, I have to resort to “smoking meats” in my Wolf oven. In between writing phone reviews and hot takes on country music, I find myself researching new recipes for Chloe and me to try out, and one of them is barbecue ribs.
I kept seeing racks of St. Louis ribs on sale at Whole Foods, which inspired me to dig a bit deeper and see if I could pull off something semi-decent. I’m happy to report that upon first experimenting with them, they didn’t suck.
And that’s all I needed.
Low and slow wins the race
Everyone knows (well, chefs like my mom know) that smoking or roasting meat for a long time requires a low temperature and plenty of time to kill. In the case of a rack of ribs, you need about 2.5-3.5 hours, depending on how big the rack is and how much meat is on the bone.
The 1.78-lb rack I bought from Whole Foods had a decent amount of meat across its bones, some not as thick as I’d like, but it was serviceable nonetheless. I swiped them across the self-checkout scanner, threw them in a paper bag, and walked home to get started.
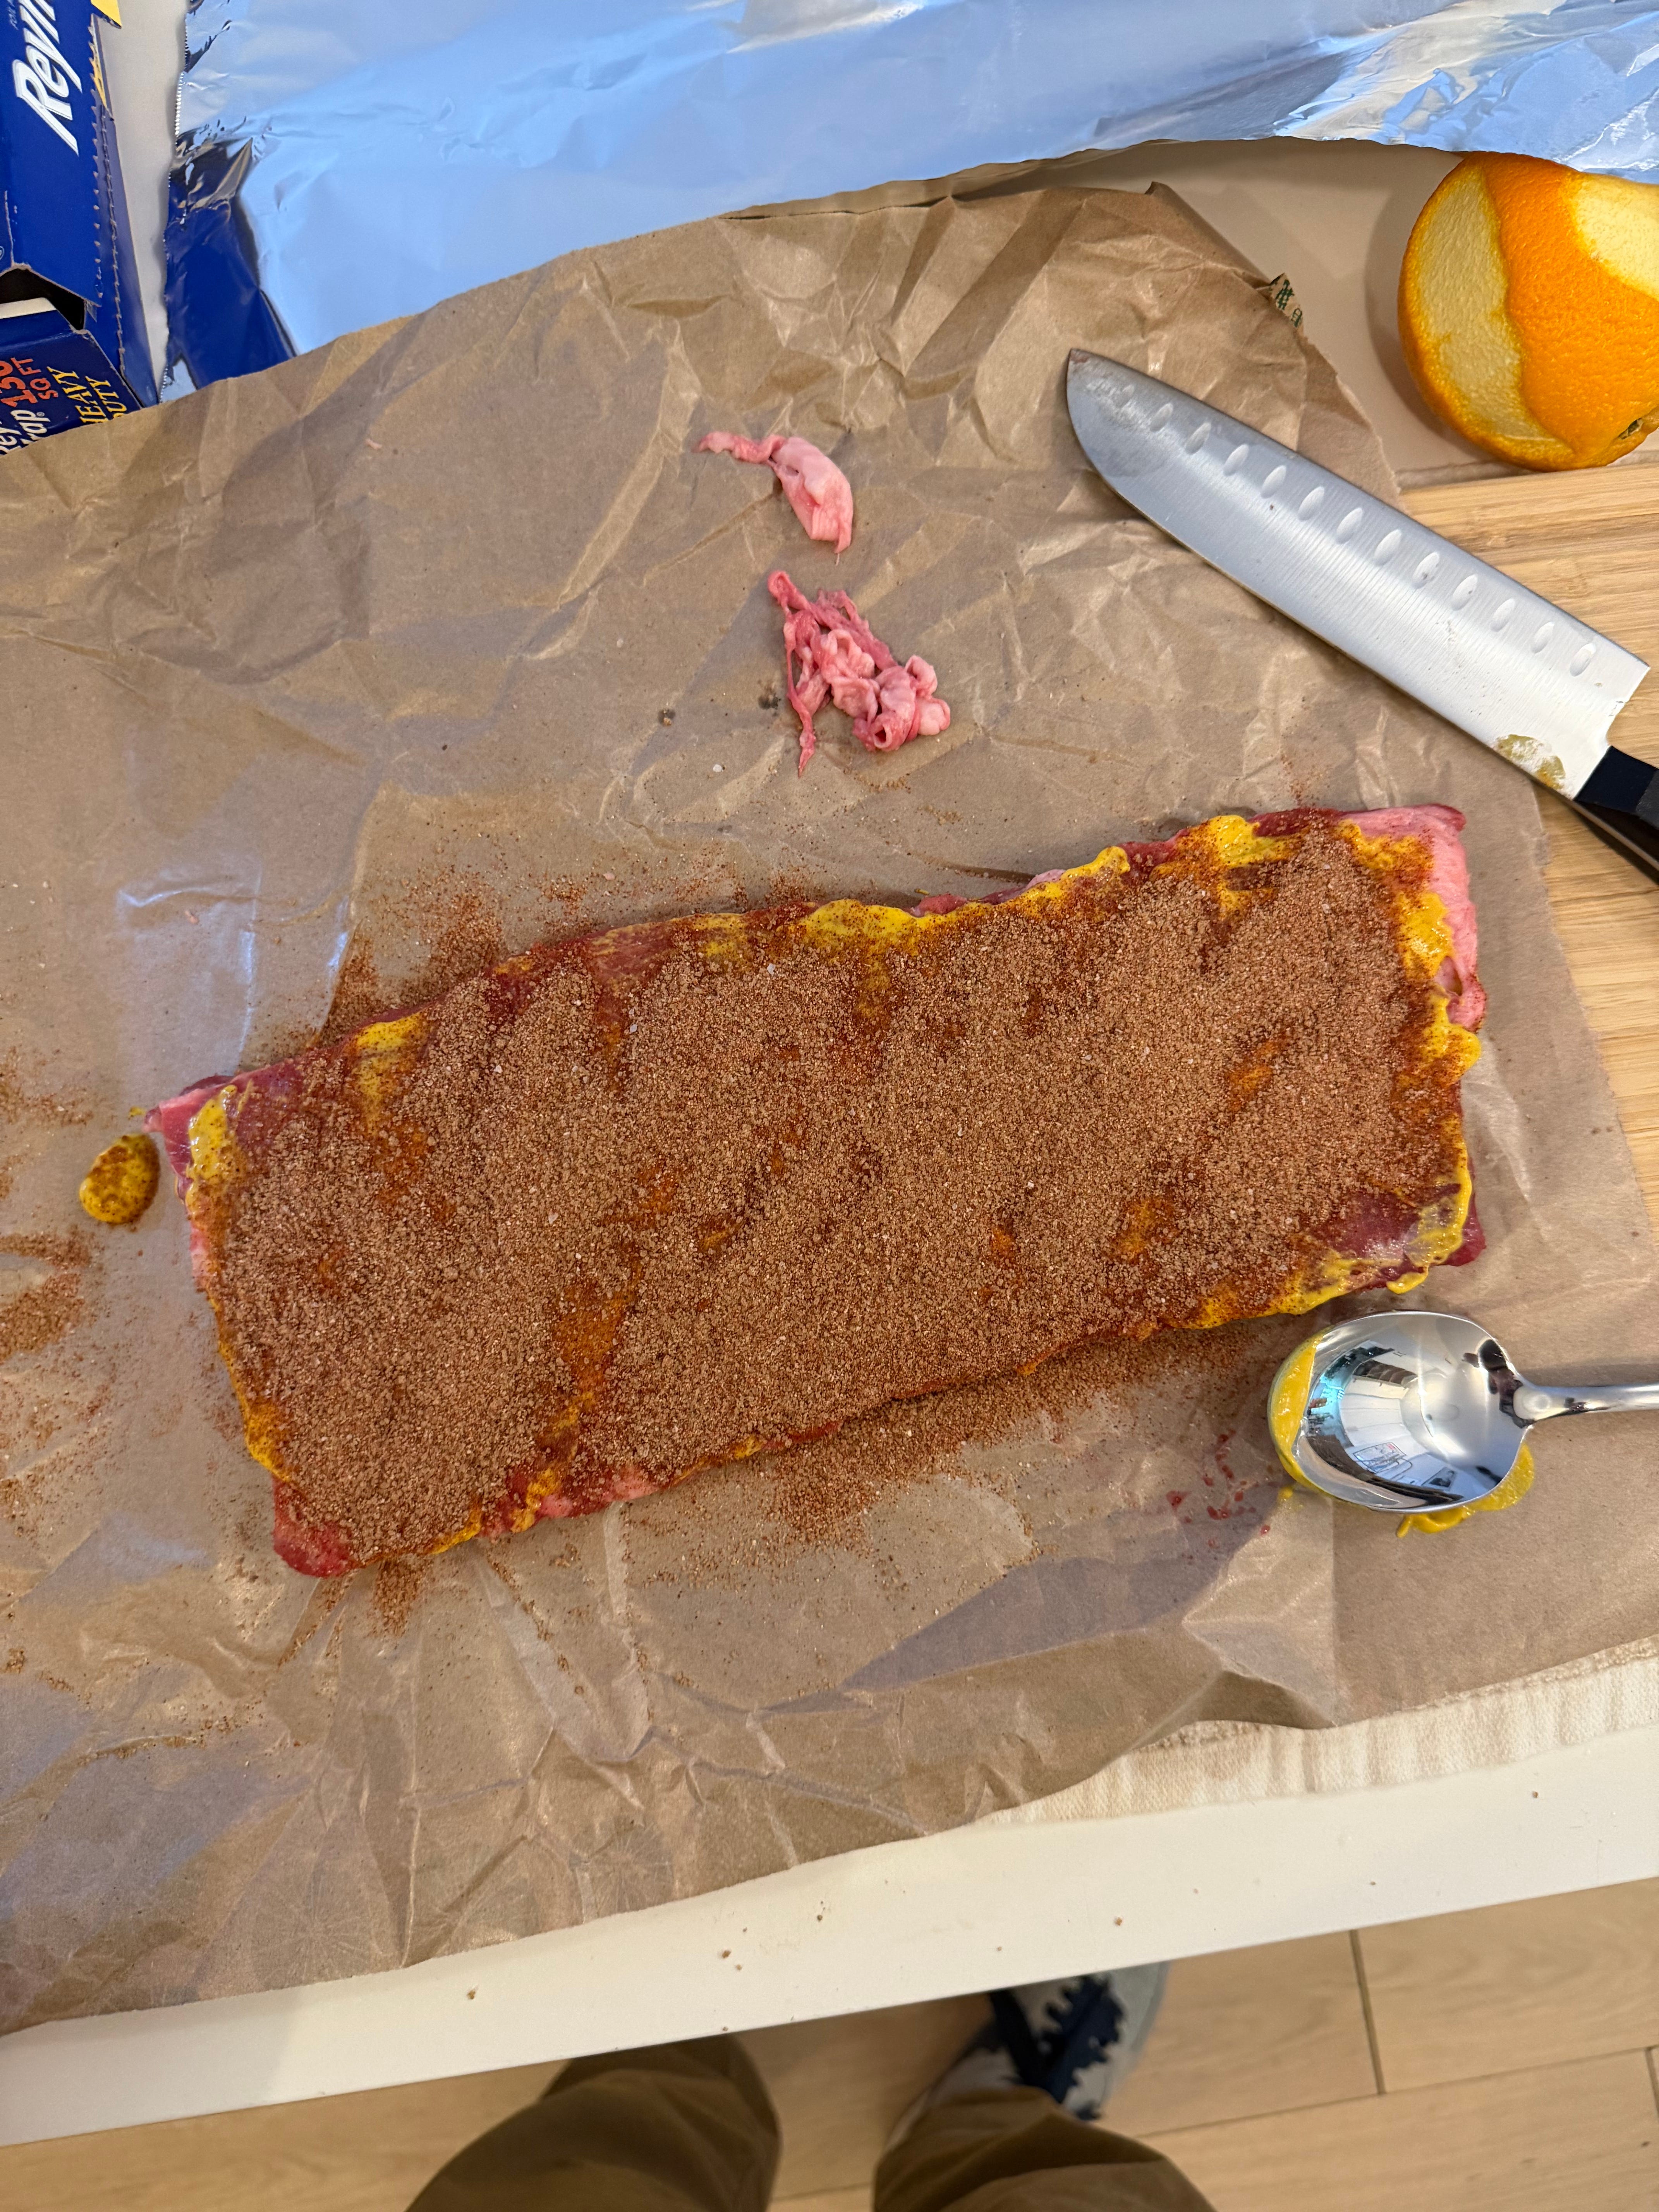
Cutting off the membrane on the back of this particular rack was... painful. I’m used to doing it from working at my uncle’s barbecue restaurant when I was younger, but for the life of me, I couldn’t get it to budge. It took about 15 minutes of peeling and slicing for the whole thing to detach. Maybe I just need more practice with my knife to figure out exactly how to filet it off. I’ll keep you posted on that.
After I threw the membrane out, it was time for the rub. I’m no pit master, so I don’t have an old family recipe for a rub that’s been passed down for generations. Instead, I Googled some stuff.
I know from watching Food Network elements of a good rub, and combined with the results of my rigorous search across the interwebs, I settled on these ingredients:
Brown sugar
Smoked paprika
Garlic powder
Onion powder
Ground mustard
Salt
Pepper
Yellow mustard (for binding)
I rubbed both sides of the rack with this flavor combination. I’m pretty sure I’ve seen people only do the meatier side before, but my mind was set on doing both sides from the get-go, so that’s what I wound up doing. I had to use the back of a huge serving spoon to spread the mustard since I don’t have one of those fancy mops for smearing sauces and condiments, but that’s next on my shopping list for kitchen essentials.
While I prepped the rack to go in the oven, I had my oven preheating to 275 degrees. It heated up quickly, so it was already the perfect temperature before I finished sprinkling my rub across the second side of the ribs. Once I double-checked that the light was off and the oven was preheated, I tightly wrapped the ribs in a couple layers of aluminum foil, placed them on a wire rack above a half-sized sheet pan, and placed them in the oven.
And I waited.
Happy hour ensued
Editor’s note: The above Old Fashioned was from a previous night, where I remembered to film the smoking of the beverage.
I had three hours before the ribs would be finished, so it was time for happy hour. Chloe came home about an hour into the cooking process (I started them at 4:30 p.m., so we wouldn’t be eating too too late), and we decided to fix some drinks.
For her? A Dirty Shirley using Shirley Temple-flavored Poppi. For me? A smoked Old Fashioned, of course. We also shared some rosemary-sea salt crackers and extra sharp cheddar as an appetizer, a staple in our household.
The Fall Off
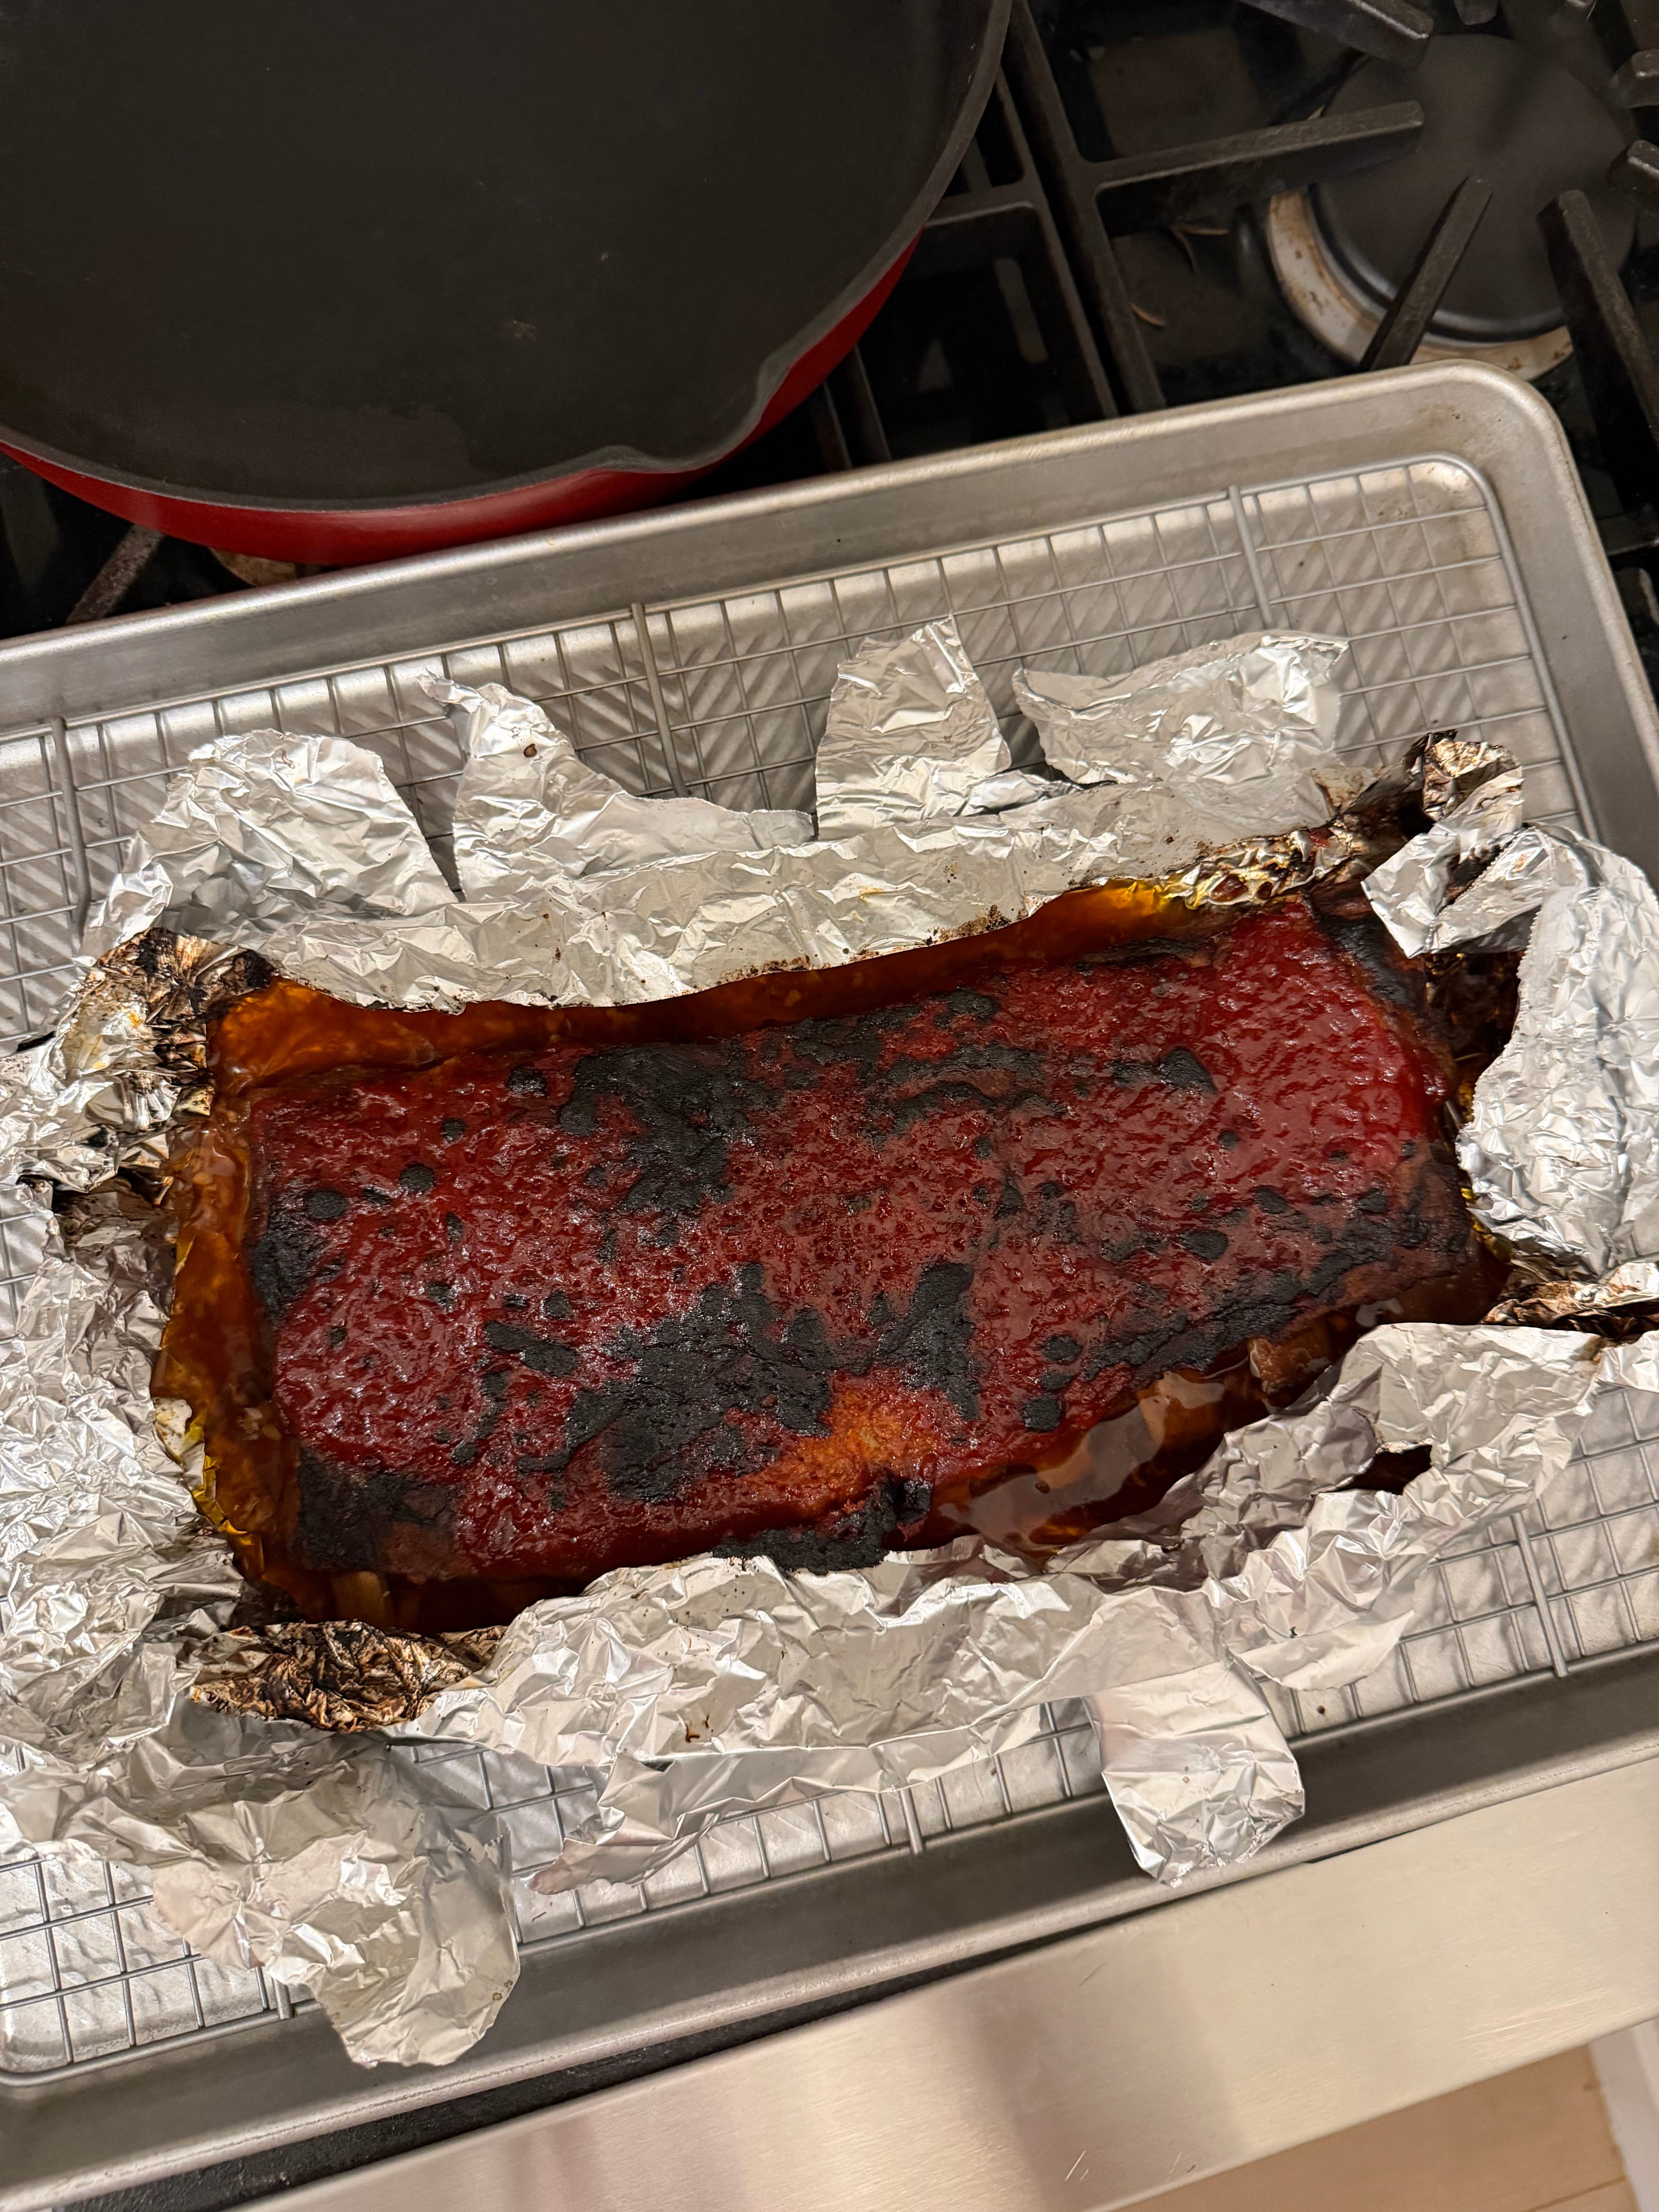
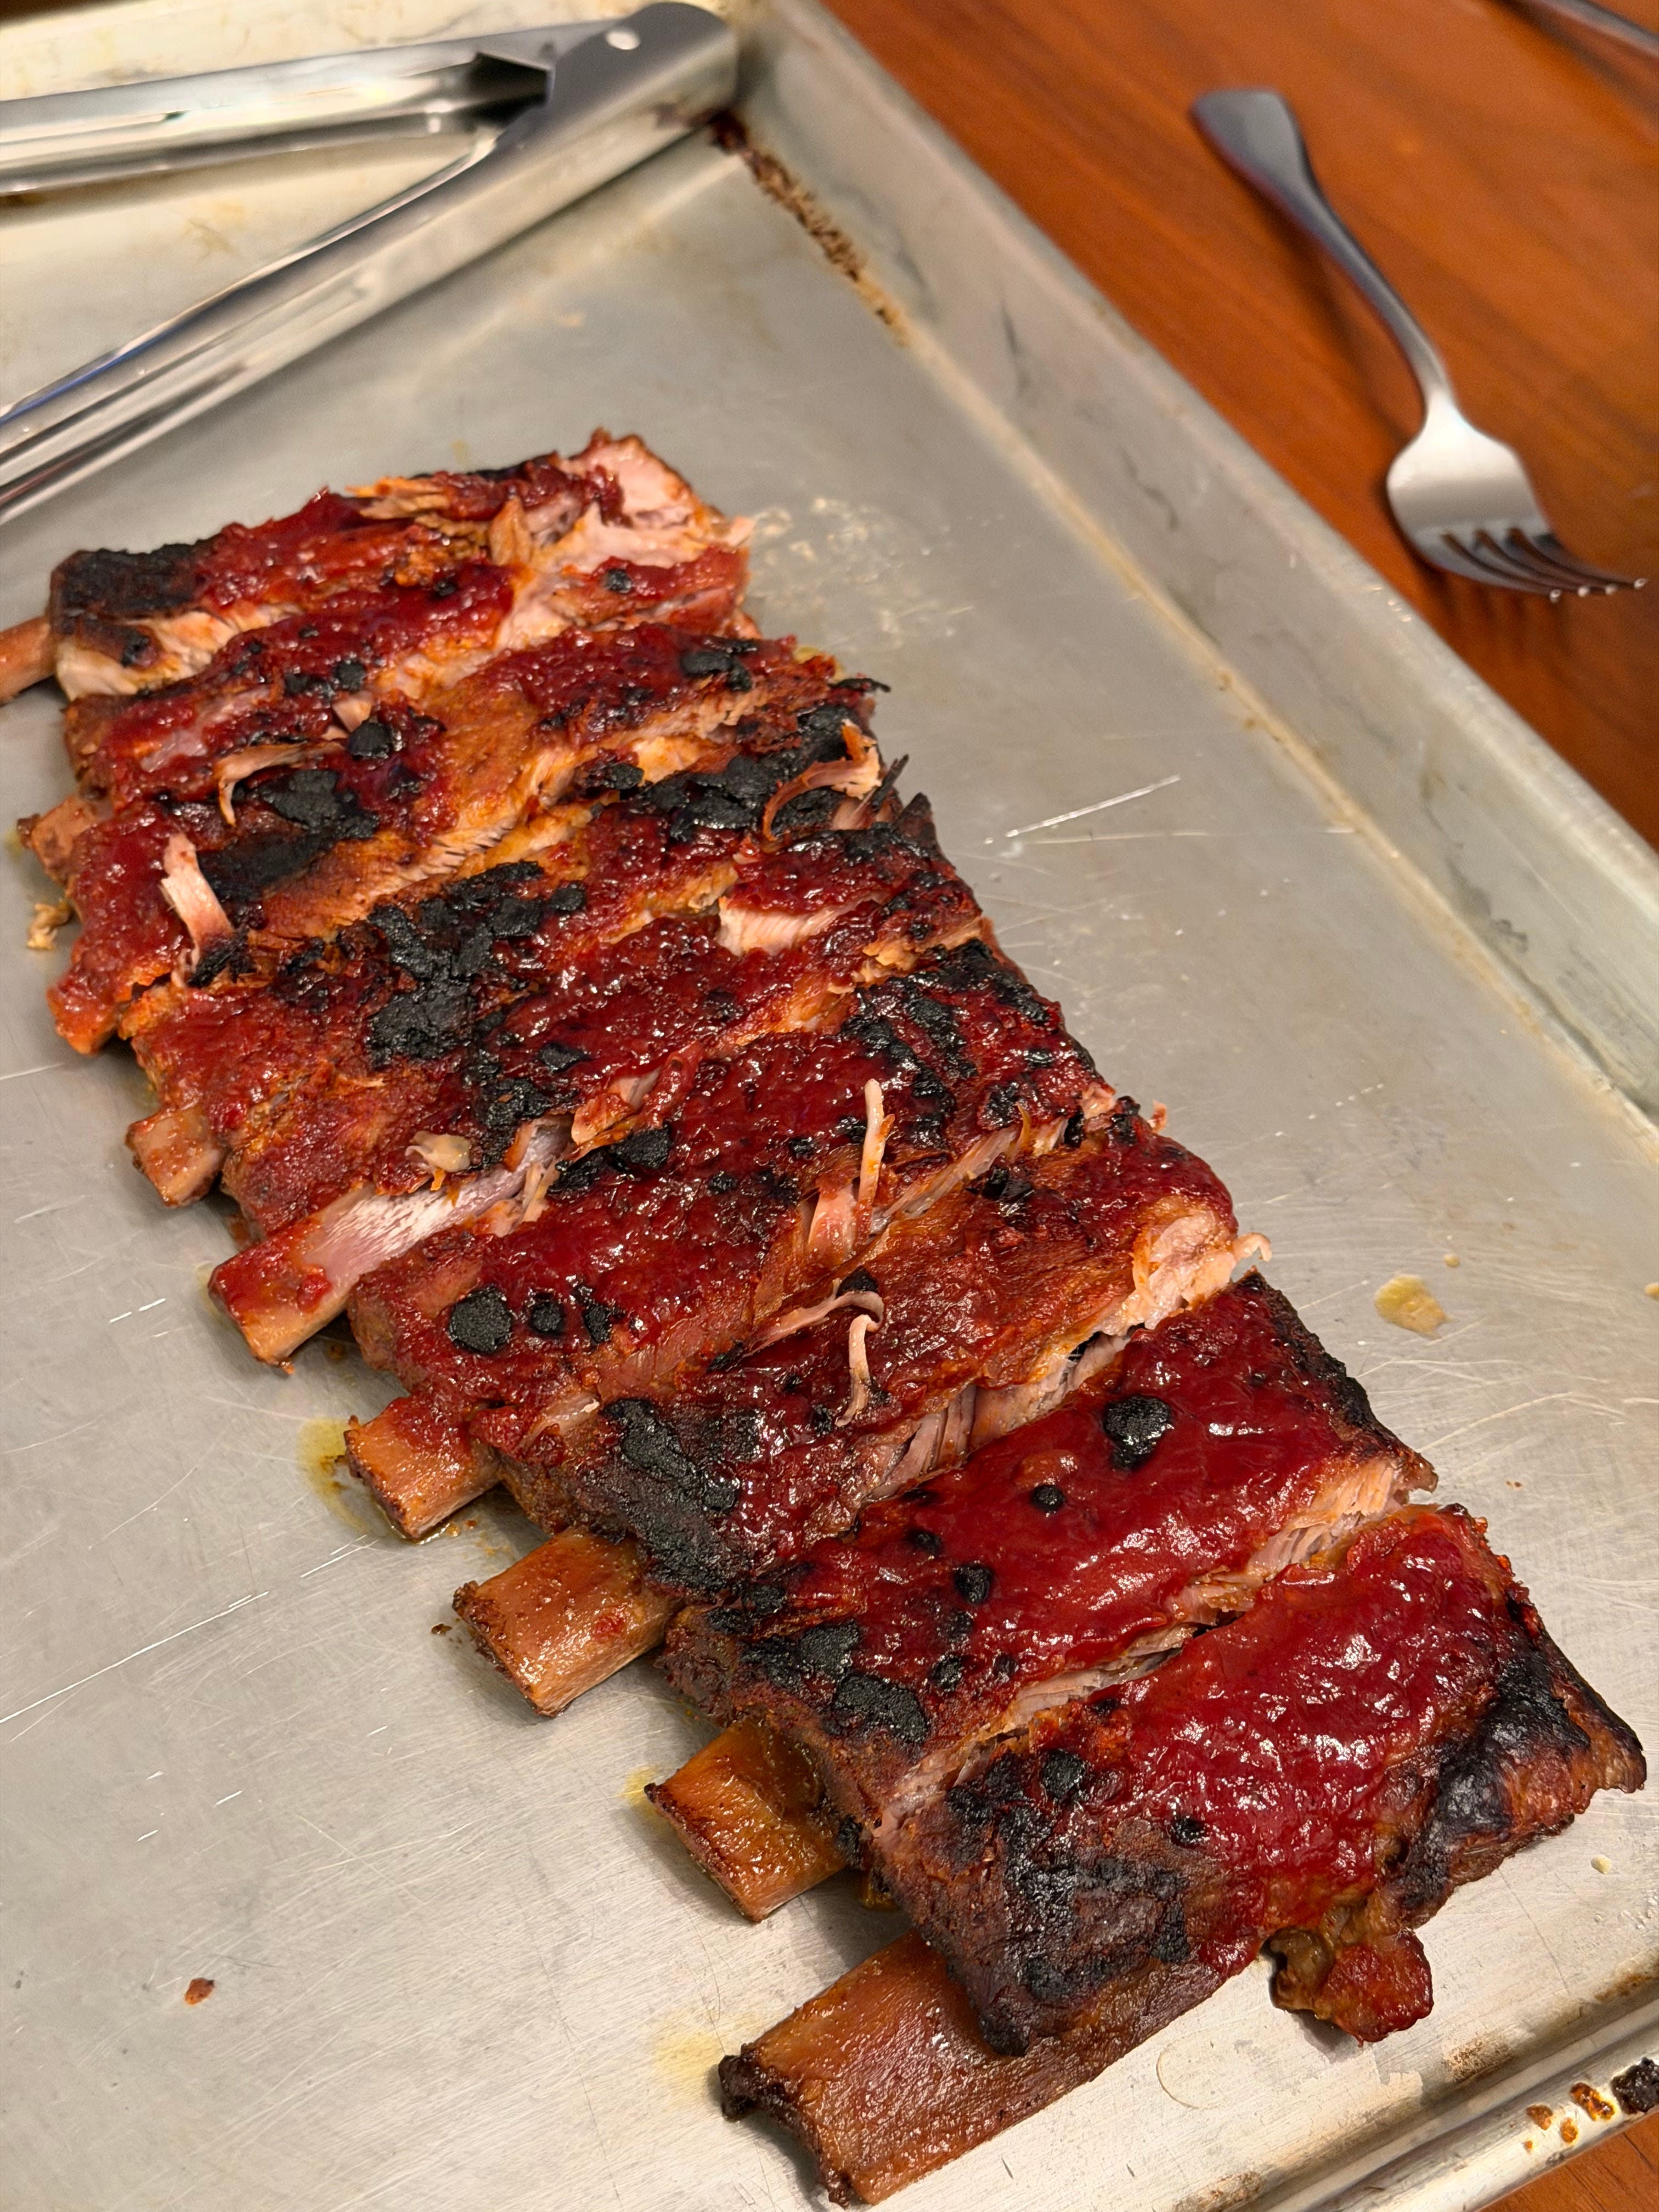
It was brutal. We waited until 7:30 p.m. to pull the ribs out of the oven, and when we did, they were perfect. But that’s not the best news when you need to transport them off the wire rack.
Before the ribs transitioned to an alternate pan, I opened the foil and basted them with our favorite barbecue sauce (in this case, Dinosaur Bar-B-Que Sauce, Original). I placed them under the broiler for about eight minutes, took them out, and witnessed beauty. These suckers looked great.
But my job wasn’t done. I needed to get them out of the foil and out of the boiling-hot fat they were floating in. I had to get two pairs of tongs to pick up the entire rack and - shit, all the meat nearly fell off the bones. We lost a couple of chunks, but that’s it. The true Fall Off occurred when we took a bite.
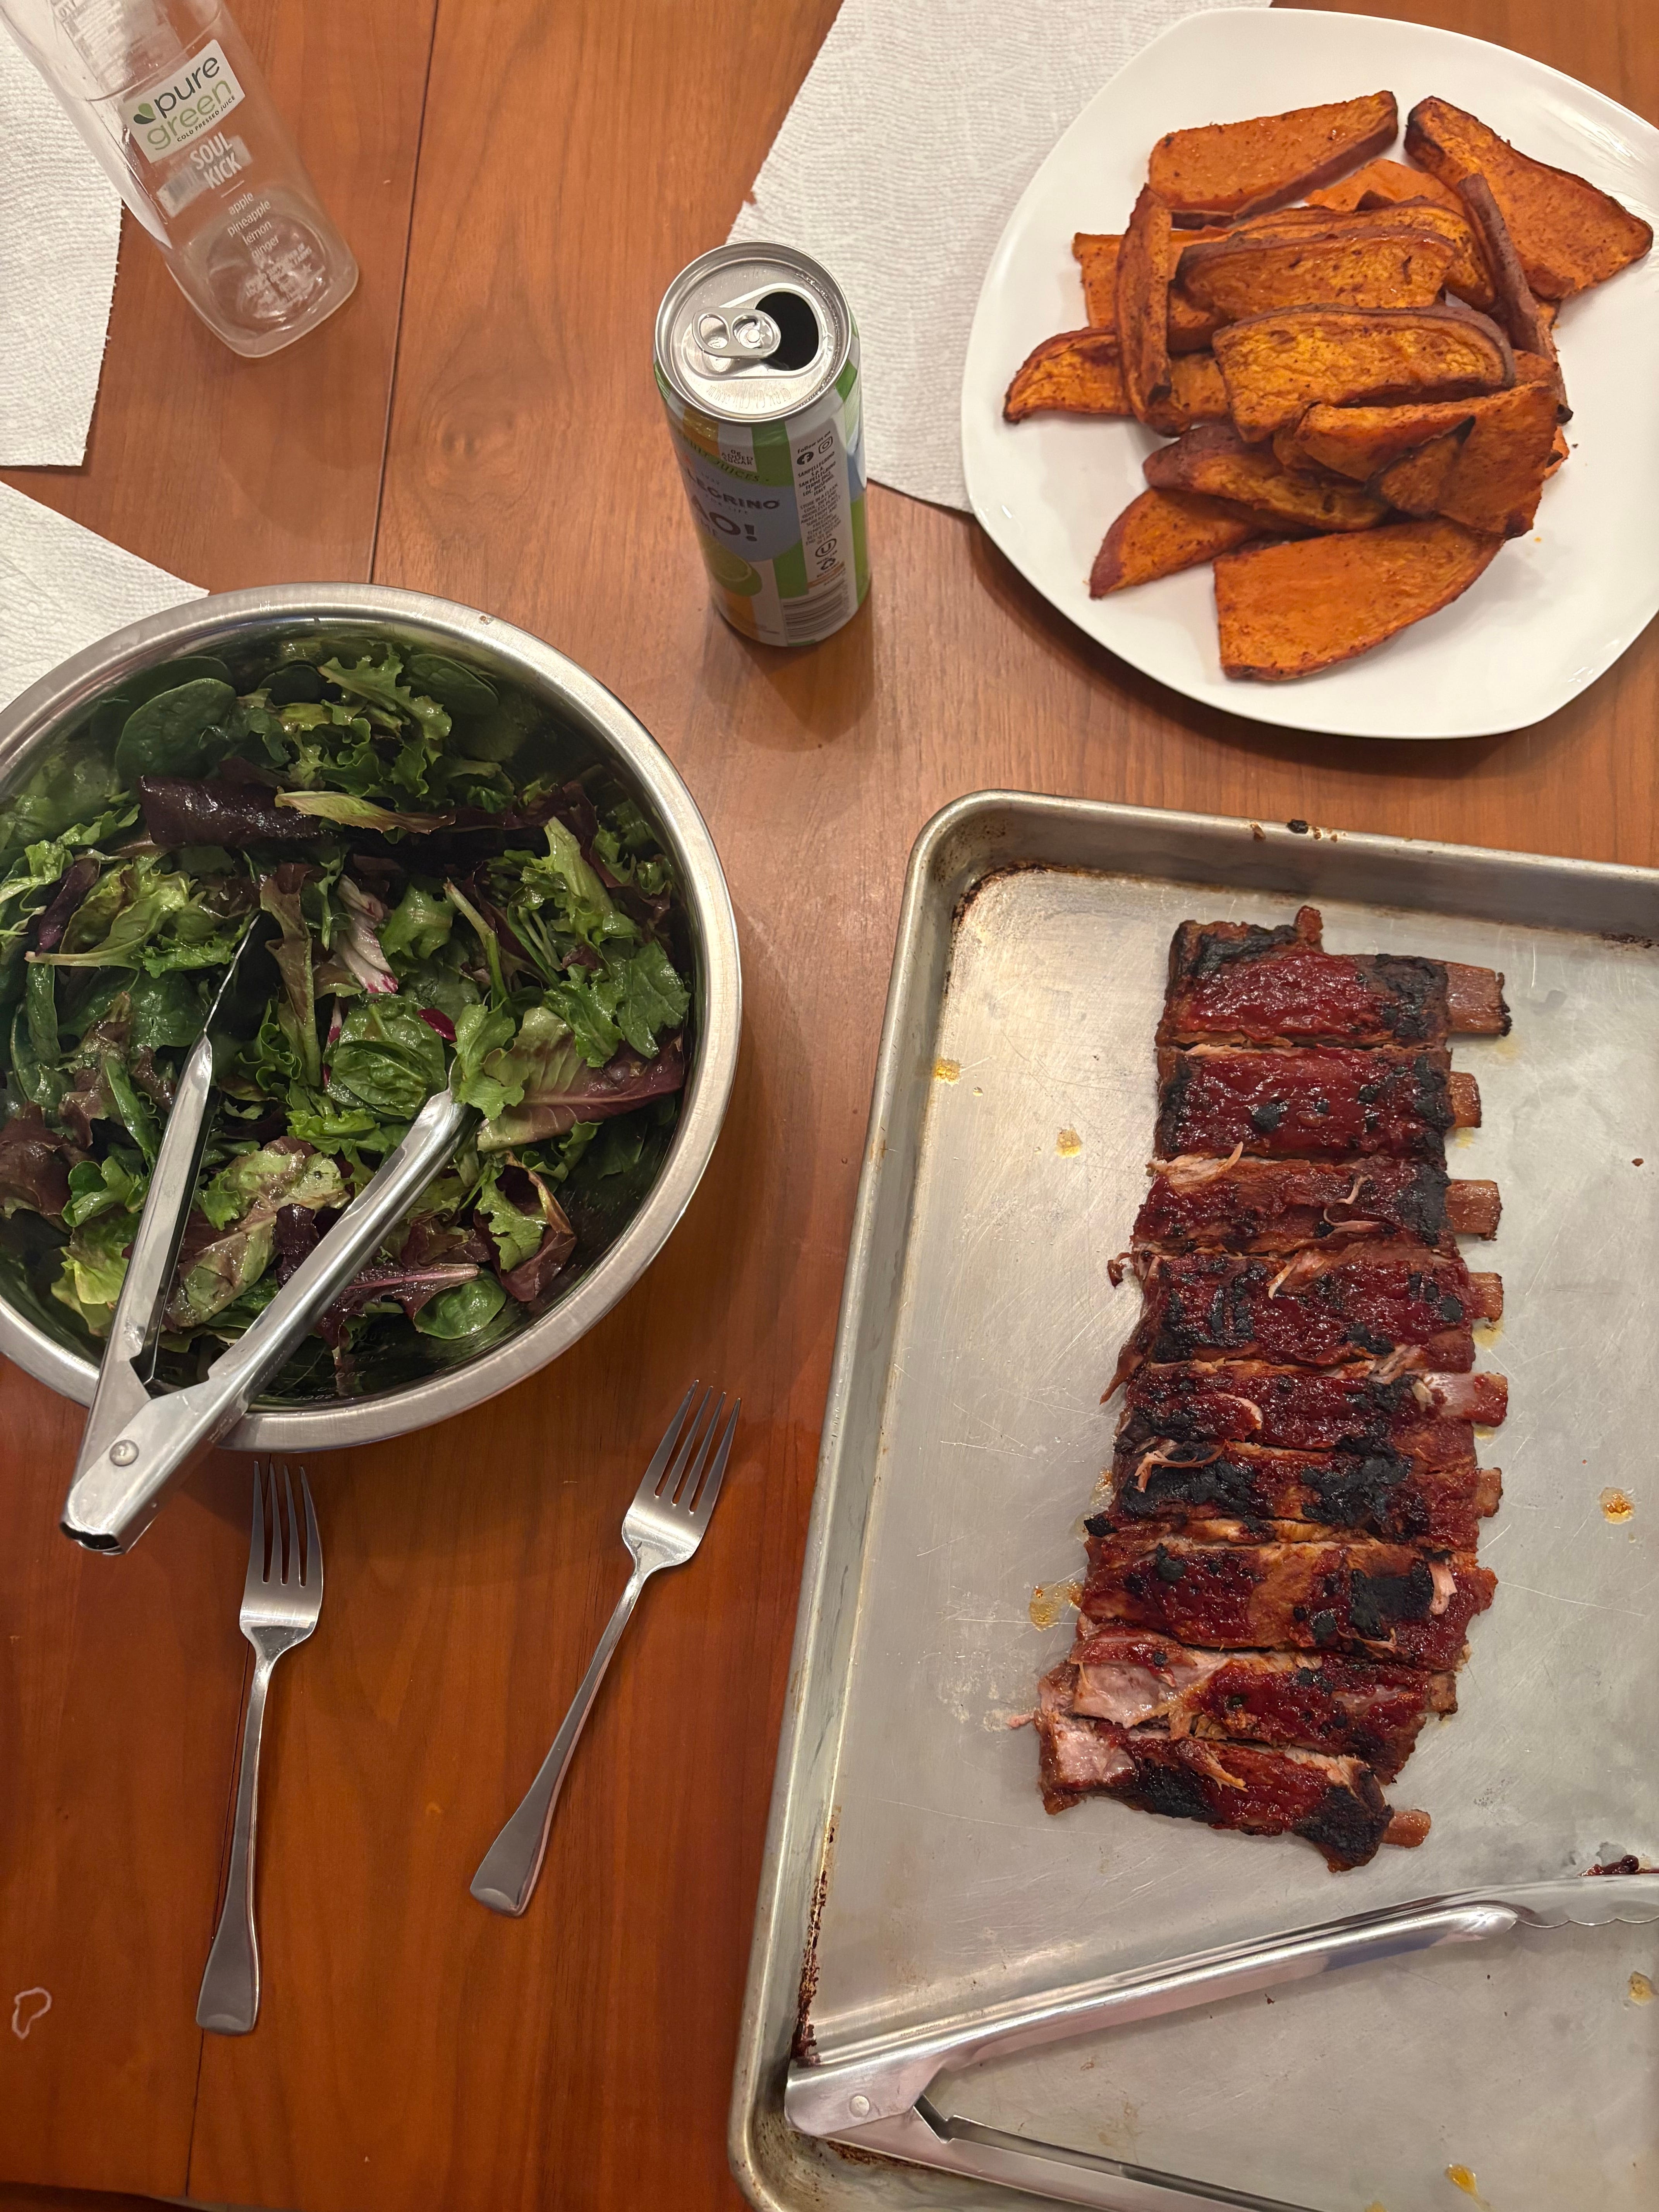
We made a side of air fryer sweet potatoes and salad, then sat down and seductively stared at them. After resisting the urge to reach for one for approximately five minutes, we dove in.
Between the bark on the top, the tenderness of the meat, and the mess we made of ourselves, these ribs came out surprisingly good. Of course, Chloe sang my praises and inflated my ego to unhealthy levels, but in my own humble opinion, I impressed myself.
We ate three ribs each. These suckers were extremely rich, so we saved some for Chloe to have for lunch the next day, ate our weight in sweet potatoes and salad, and called it a night.
Clean-up wasn’t too bad, besides the barbecue sauce being everywhere. We wrapped up the ribs in a plastic container, and according to Chloe, they reheated nicely in the microwave the next day.
Epilogue
Am I a food blogger now? Maybe, but I figured it’d be worth it to relay how easy it was for someone just learning to cook on his own (and for his gluten-free girlfriend) to make pretty killer ribs. I’m planning to blog more about the recipes I work on, the tips I’ve learned working in my parents’ restaurants growing up, and when my meals don’t come out quite right (which happens more often than I’d like to admit).